How to Check for Bed Bugs Step by Step
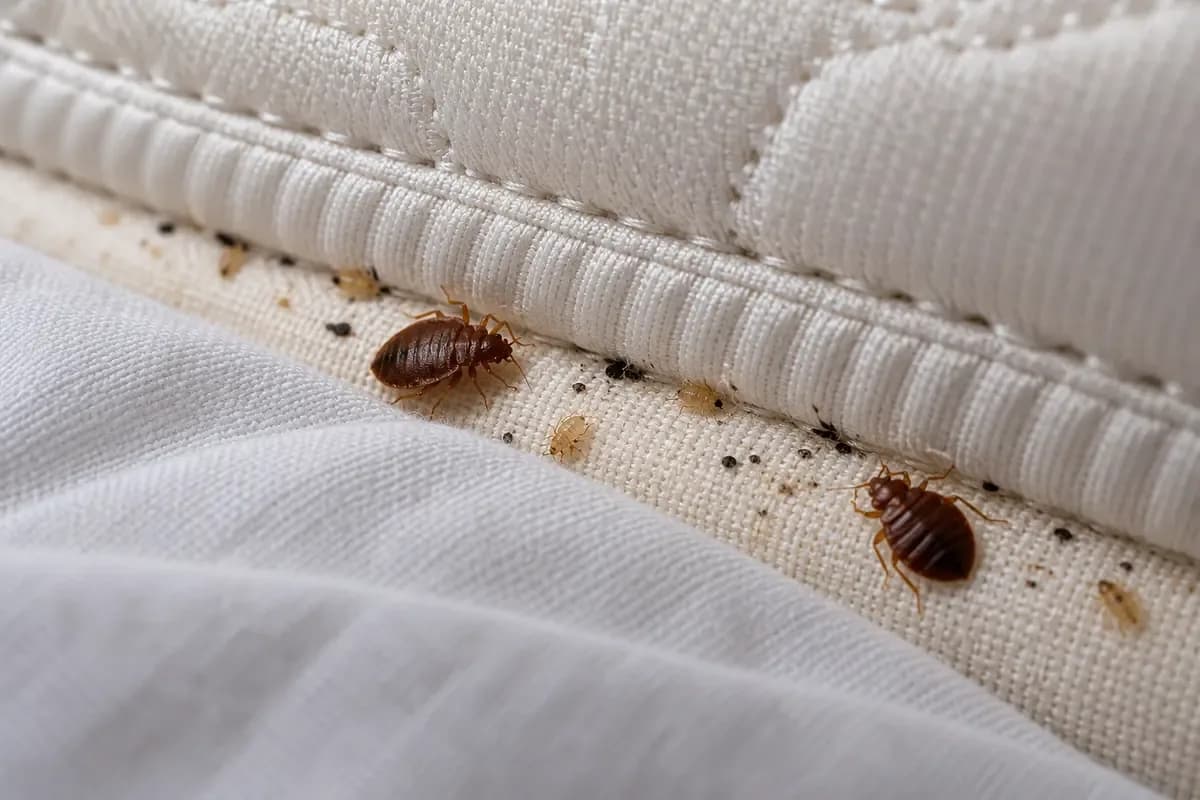
To check for bed bugs, start at the mattress and bed frame, then inspect nearby furniture and cracks with a bright flashlight. Look for live insects, dark fecal spots, shed skins and tiny white eggs. Work outward from where people sleep instead of searching the whole room at random. The Bed Bugs hub explains what to do if your inspection finds convincing evidence.
What You Need Before You Start
Use a bright flashlight, a thin plastic card, clear bags for any specimen and a phone camera. A small magnifier can help with eggs and young nymphs.
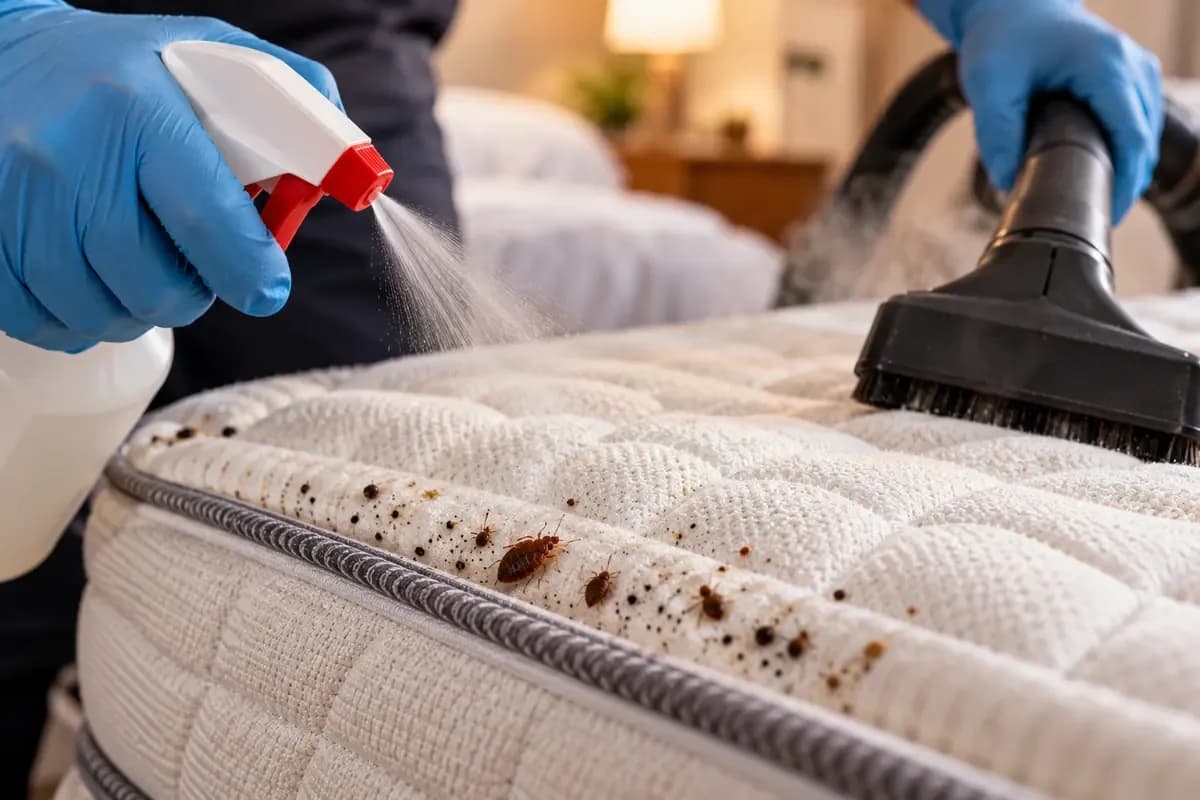
Do not spray pesticides before inspection. Spraying can make evidence harder to interpret and may push bugs deeper into hiding places.
Step 1: Check Sheets and the Mattress
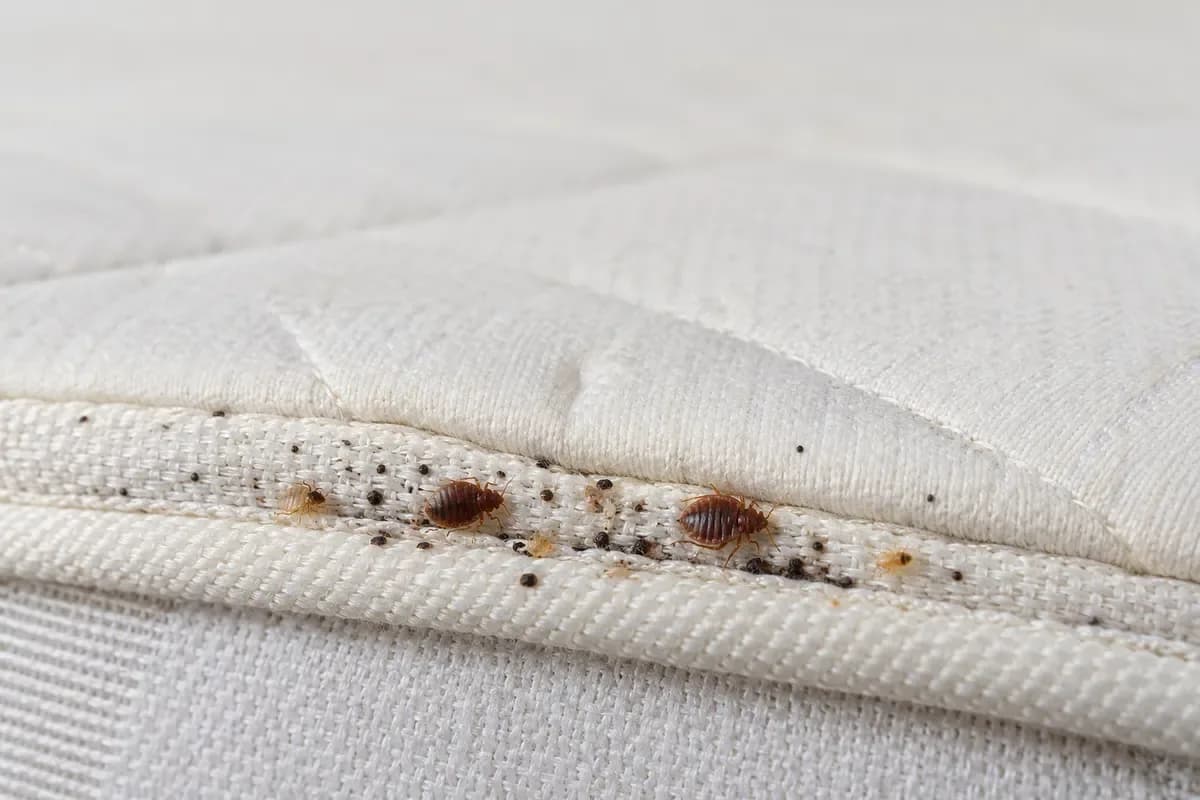
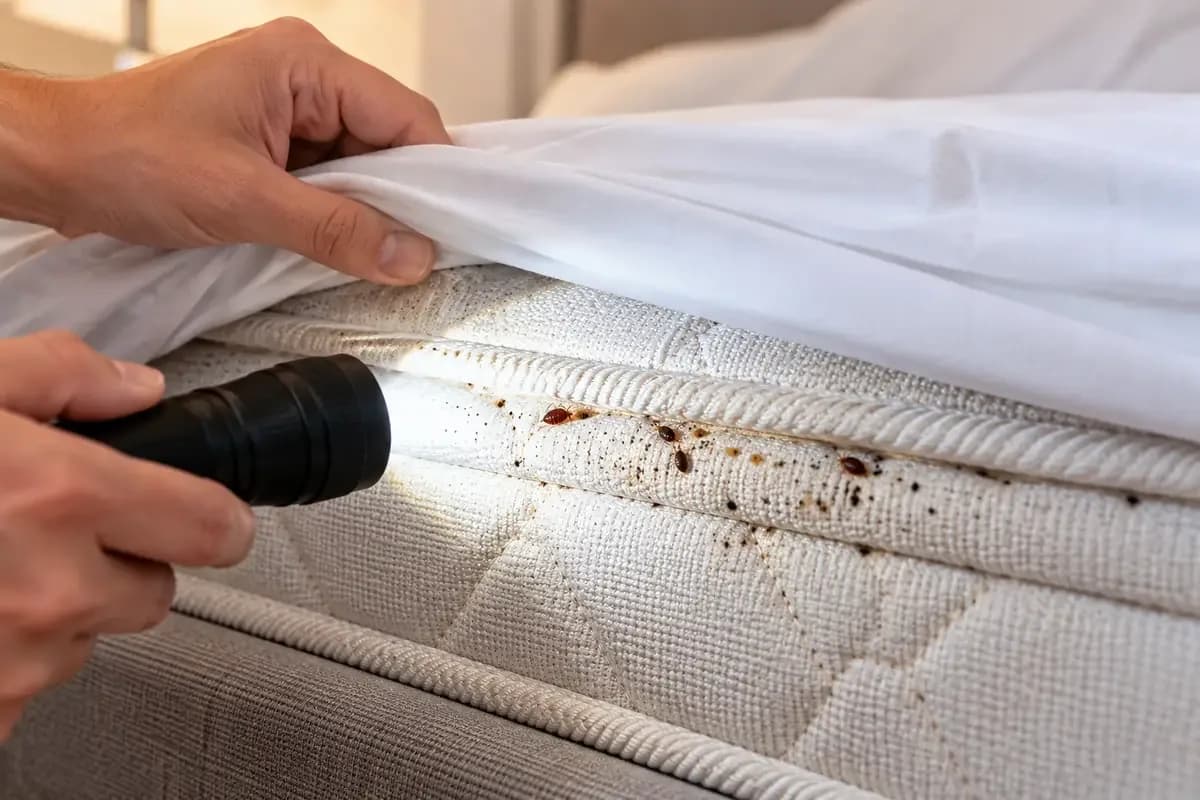
Remove bedding slowly and look for rusty stains or dark spotting. Inspect mattress piping, labels, folds, handles and the underside. Run the flashlight parallel to the surface so small shapes cast a shadow.
Use the thin card to expose narrow seams without damaging the mattress. Photograph suspicious objects before wiping or vacuuming them away. Compare what you find against our early signs checklist.
Step 2: Inspect the Box Spring and Bed Frame
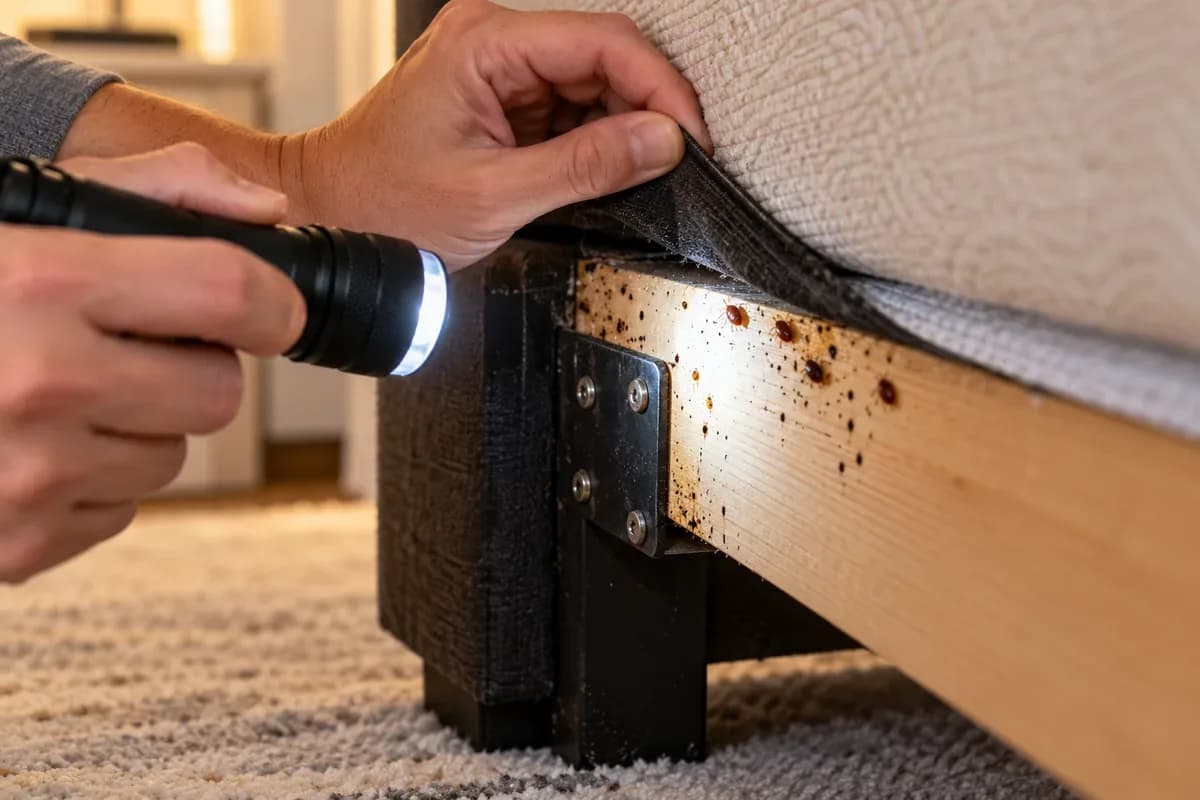
Box springs and frames offer many protected cracks. Check corner guards, fabric edges, screw holes, joints, slats and the underside of the frame.
Pay close attention to the head end of the bed because bed bugs tend to stay near a resting host. A clean mattress does not rule out bugs hiding in the frame.
Step 3: Check the Headboard and Wall Area
Inspect behind and beneath the headboard, especially mounting points and cracks. Look along baseboards, loose wallpaper and nearby wall decorations when evidence is present around the bed.
Do not remove electrical covers unless it can be done safely. A professional can inspect difficult structural voids when an infestation appears to extend into walls.
Step 4: Inspect Nearby Furniture
Check nightstand joints, drawer corners, upholstered chair seams and sofa folds within the sleeping area. Bed bugs can hide in furniture where people rest for long periods.
Move outward only after finishing the bed area. This keeps the inspection organized and reduces the chance of missing a key harboring spot. A systematic inspection reduces repeated work, so finish one zone before moving to the next.
Step 5: Use Interceptors and Follow Up Checks
Interceptor traps under bed legs can help detect bugs moving to or from the bed. They are monitoring tools, not a complete treatment.
Record the date and location of anything you find. Rechecking the same points over time is more informative than repeatedly searching different places without a plan. If you rent or live in a shared building, document what you find before moving furniture or applying products.
How to Check a Hotel Room
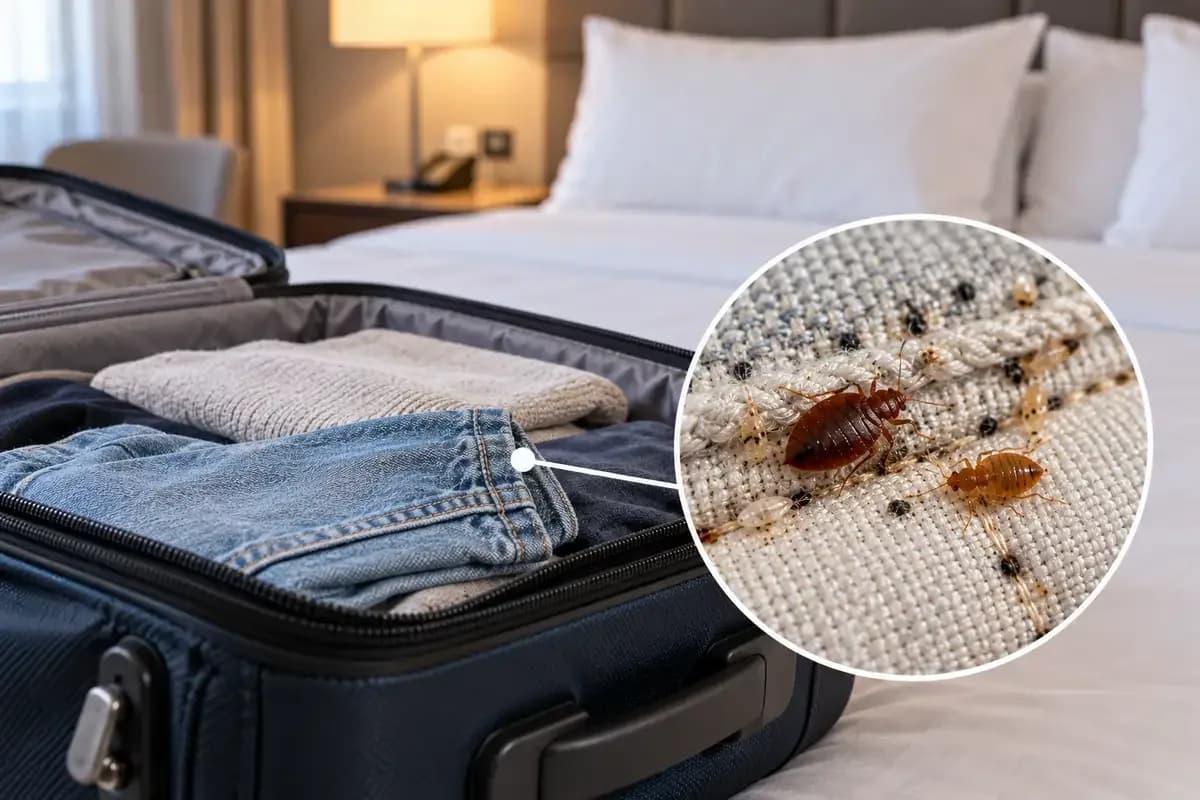
Before unpacking, inspect the headboard area and mattress corners, and keep luggage away from the bed. A quick hotel check cannot guarantee a room is clear, but it can reveal obvious signs.
Travel is a common way infestations spread, so a two minute check matters. For more on how bed bugs travel between places, see where bed bugs come from.
Quick Comparison
This table summarizes where to look and the strongest clue in each zone during a home inspection.
| Area | Where to look | Quick clue |
|---|---|---|
| Mattress | Piping, labels, folds | Bugs, spots, eggs, shells |
| Bed frame | Joints, screws, slats | Live bugs and spotting |
| Headboard | Back, mounts, cracks | Clusters and harborages |
| Nightstand | Drawer joints and underside | Bugs and dark marks |
| Upholstery | Seams and folds | Bugs and shells |
Found a bug, shell or stain you cannot identify? Upload a close photo to the free ScanaBug identifier, then use the removal step plan if it is confirmed.
Frequently Asked Questions
Sources and References
- US Environmental Protection Agency. Bed Bugs: Get Them Out and Keep Them Out.
- US Centers for Disease Control and Prevention. About Bed Bugs.
- University of Kentucky Entomology. Bed Bugs, ENTFACT 636.
- UC Statewide IPM Program. Bed Bugs, Pest Note 7454.
- Purdue University Entomology. Bed Bug Identification.